In this step by step guide, we’ll walk you through creating a Progressive Web App using WordPress. For more information about PWA and their benefits, check out our article about PWAs.
Walkthrough
Step 1
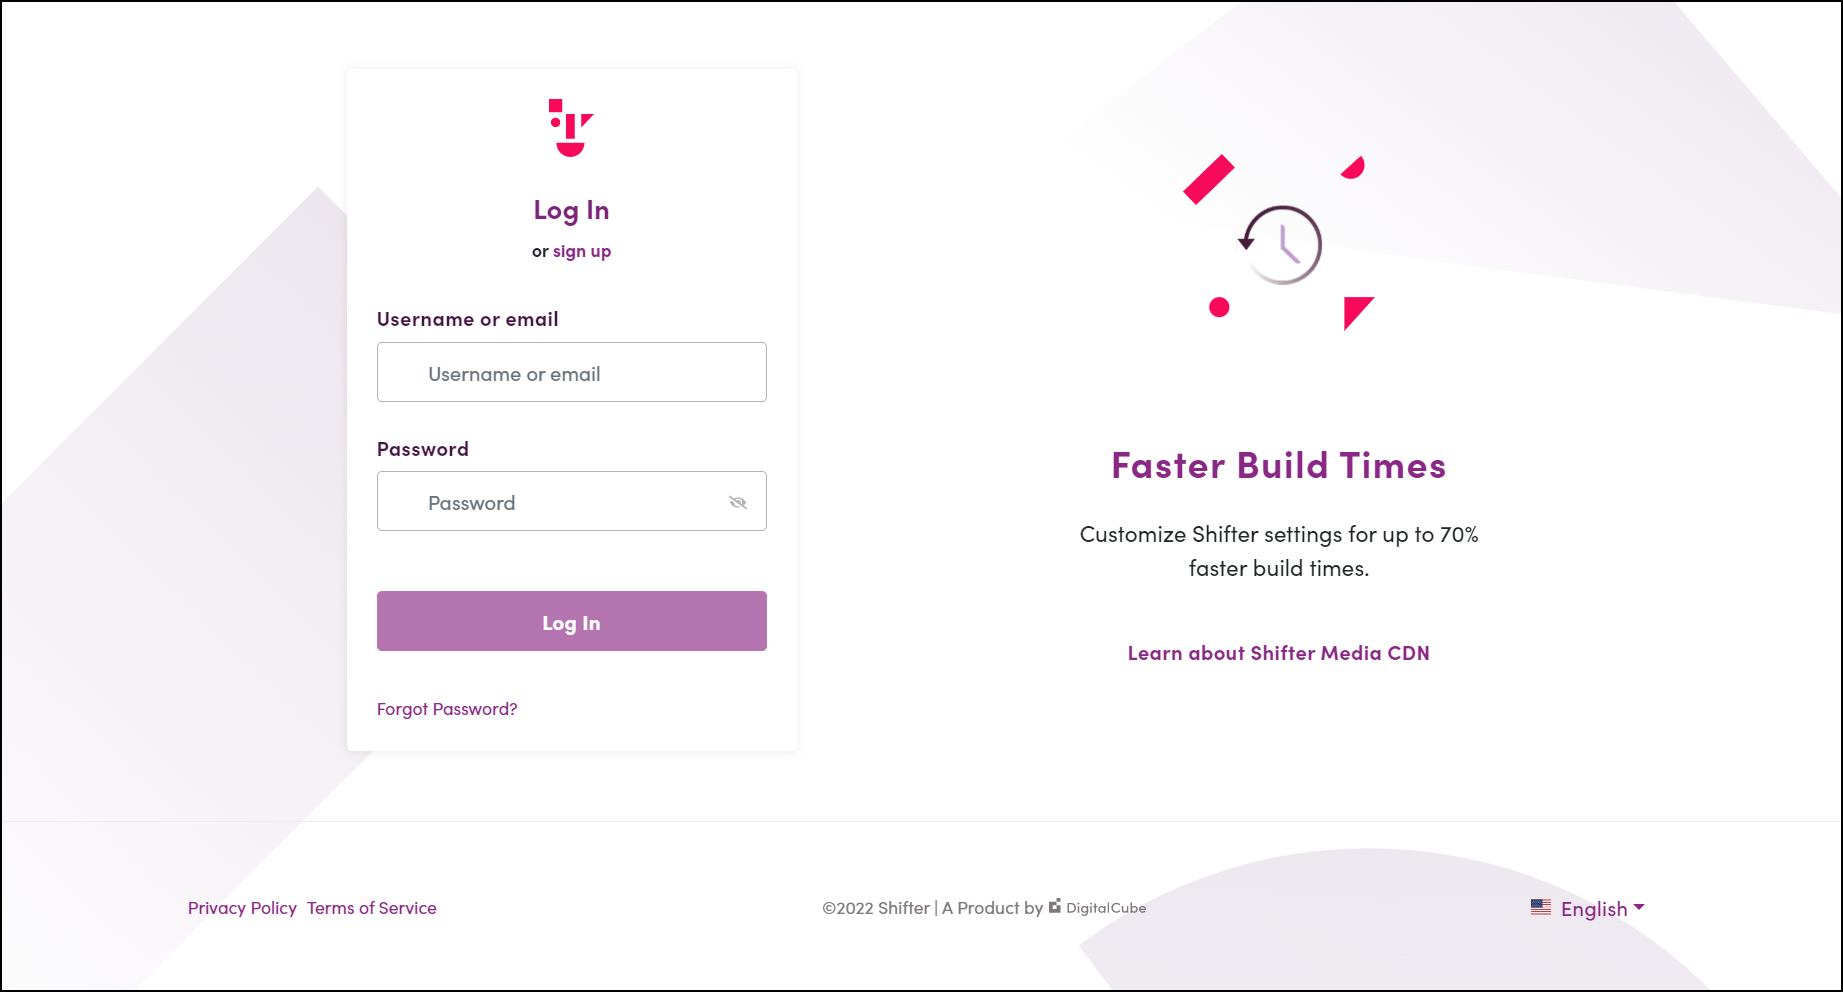
Sign in to your Shifter account
Step 2
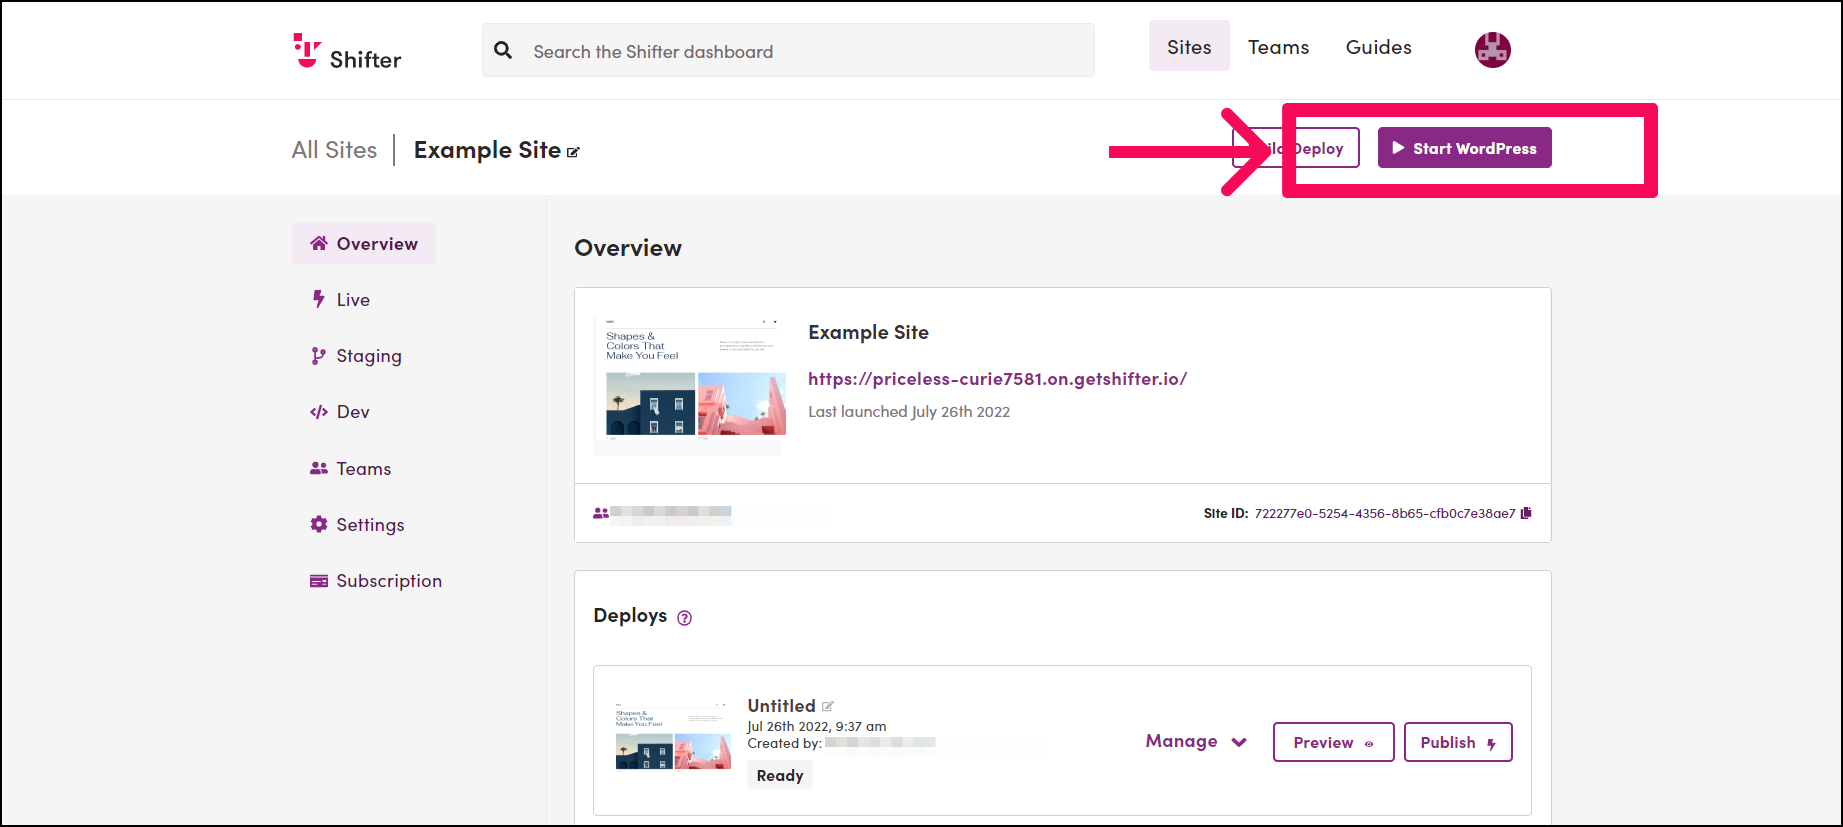
Start your WordPress site
Click [Start WordPress] button to boot up WordPress.
Step 3
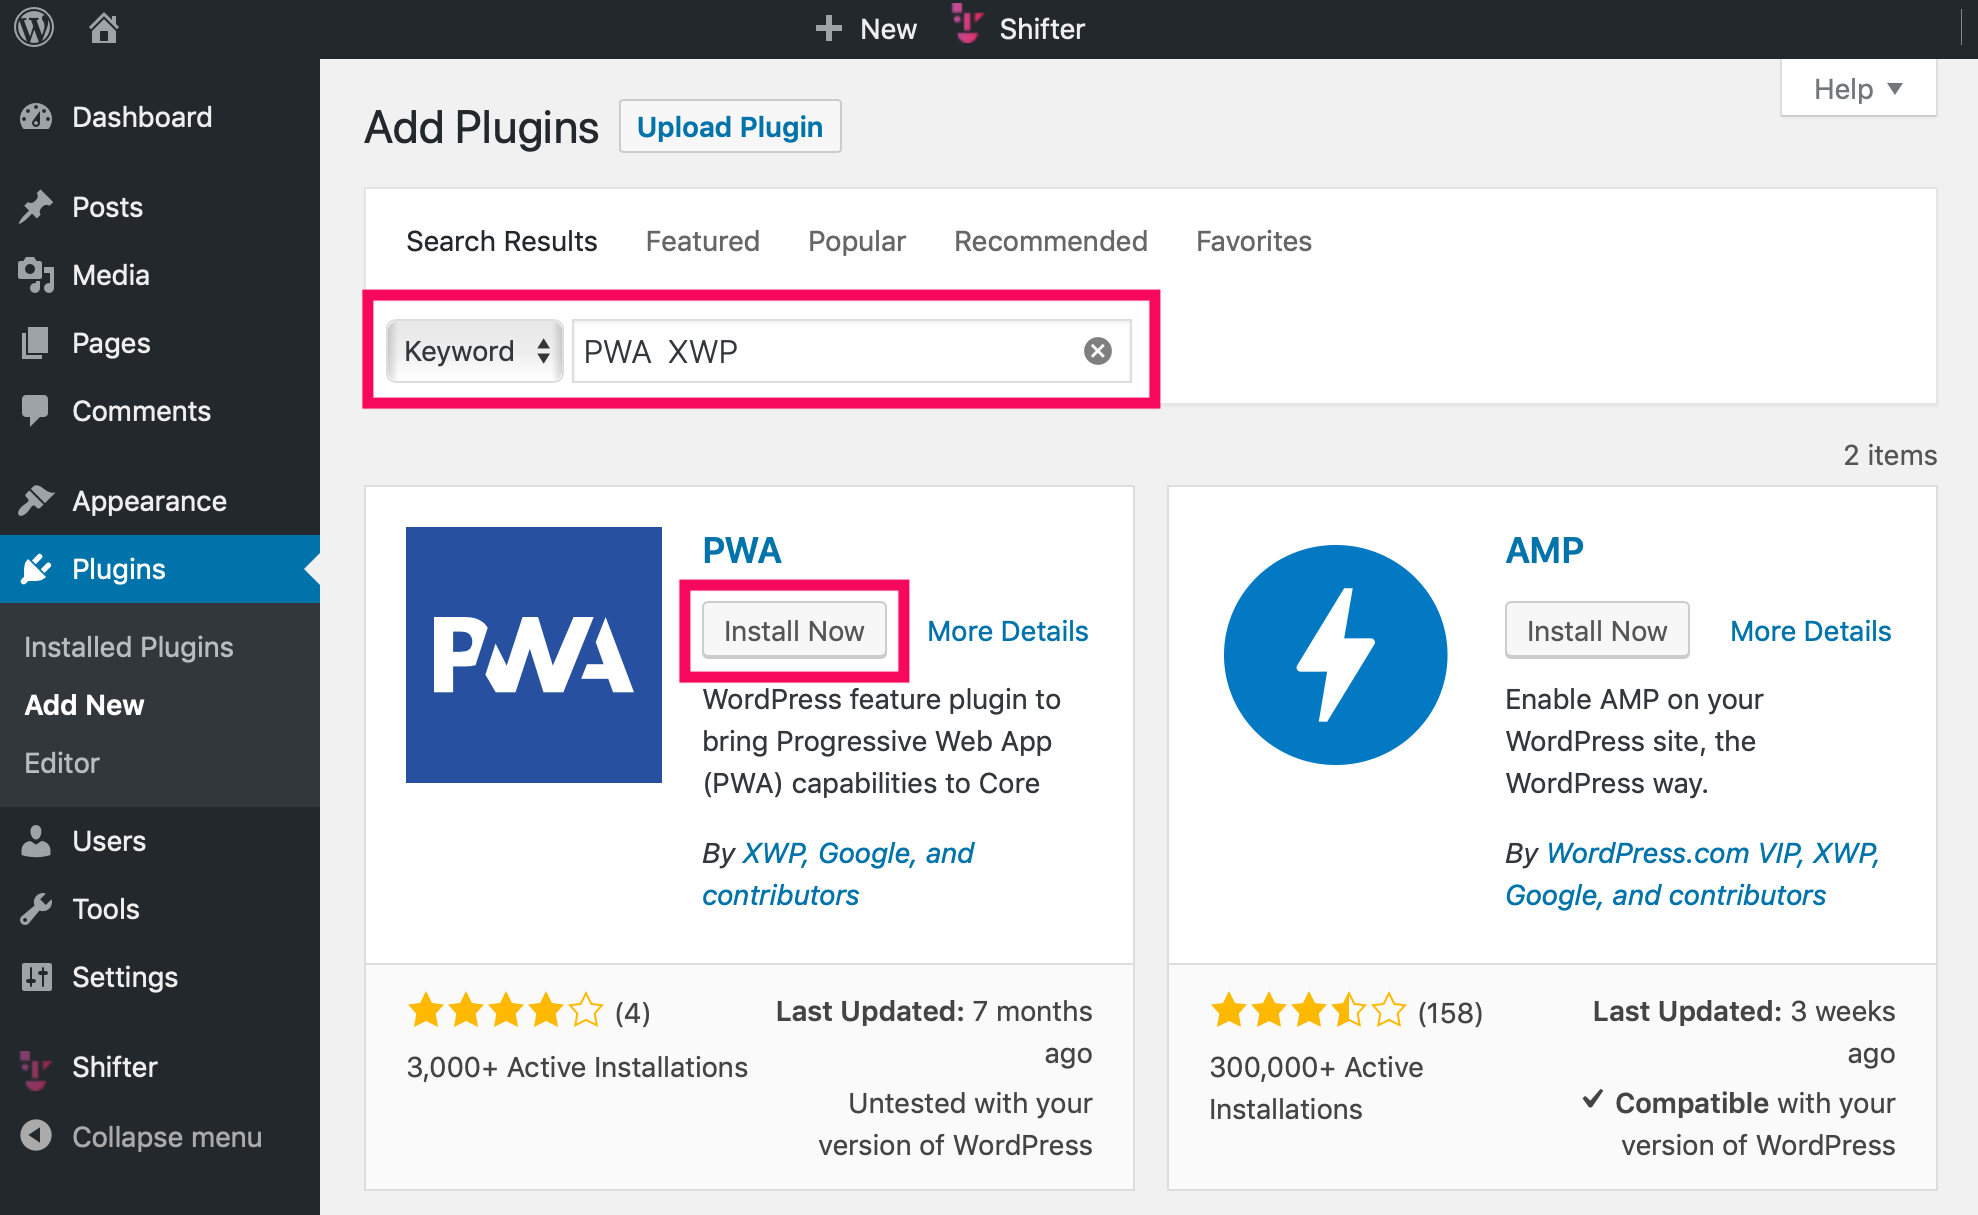
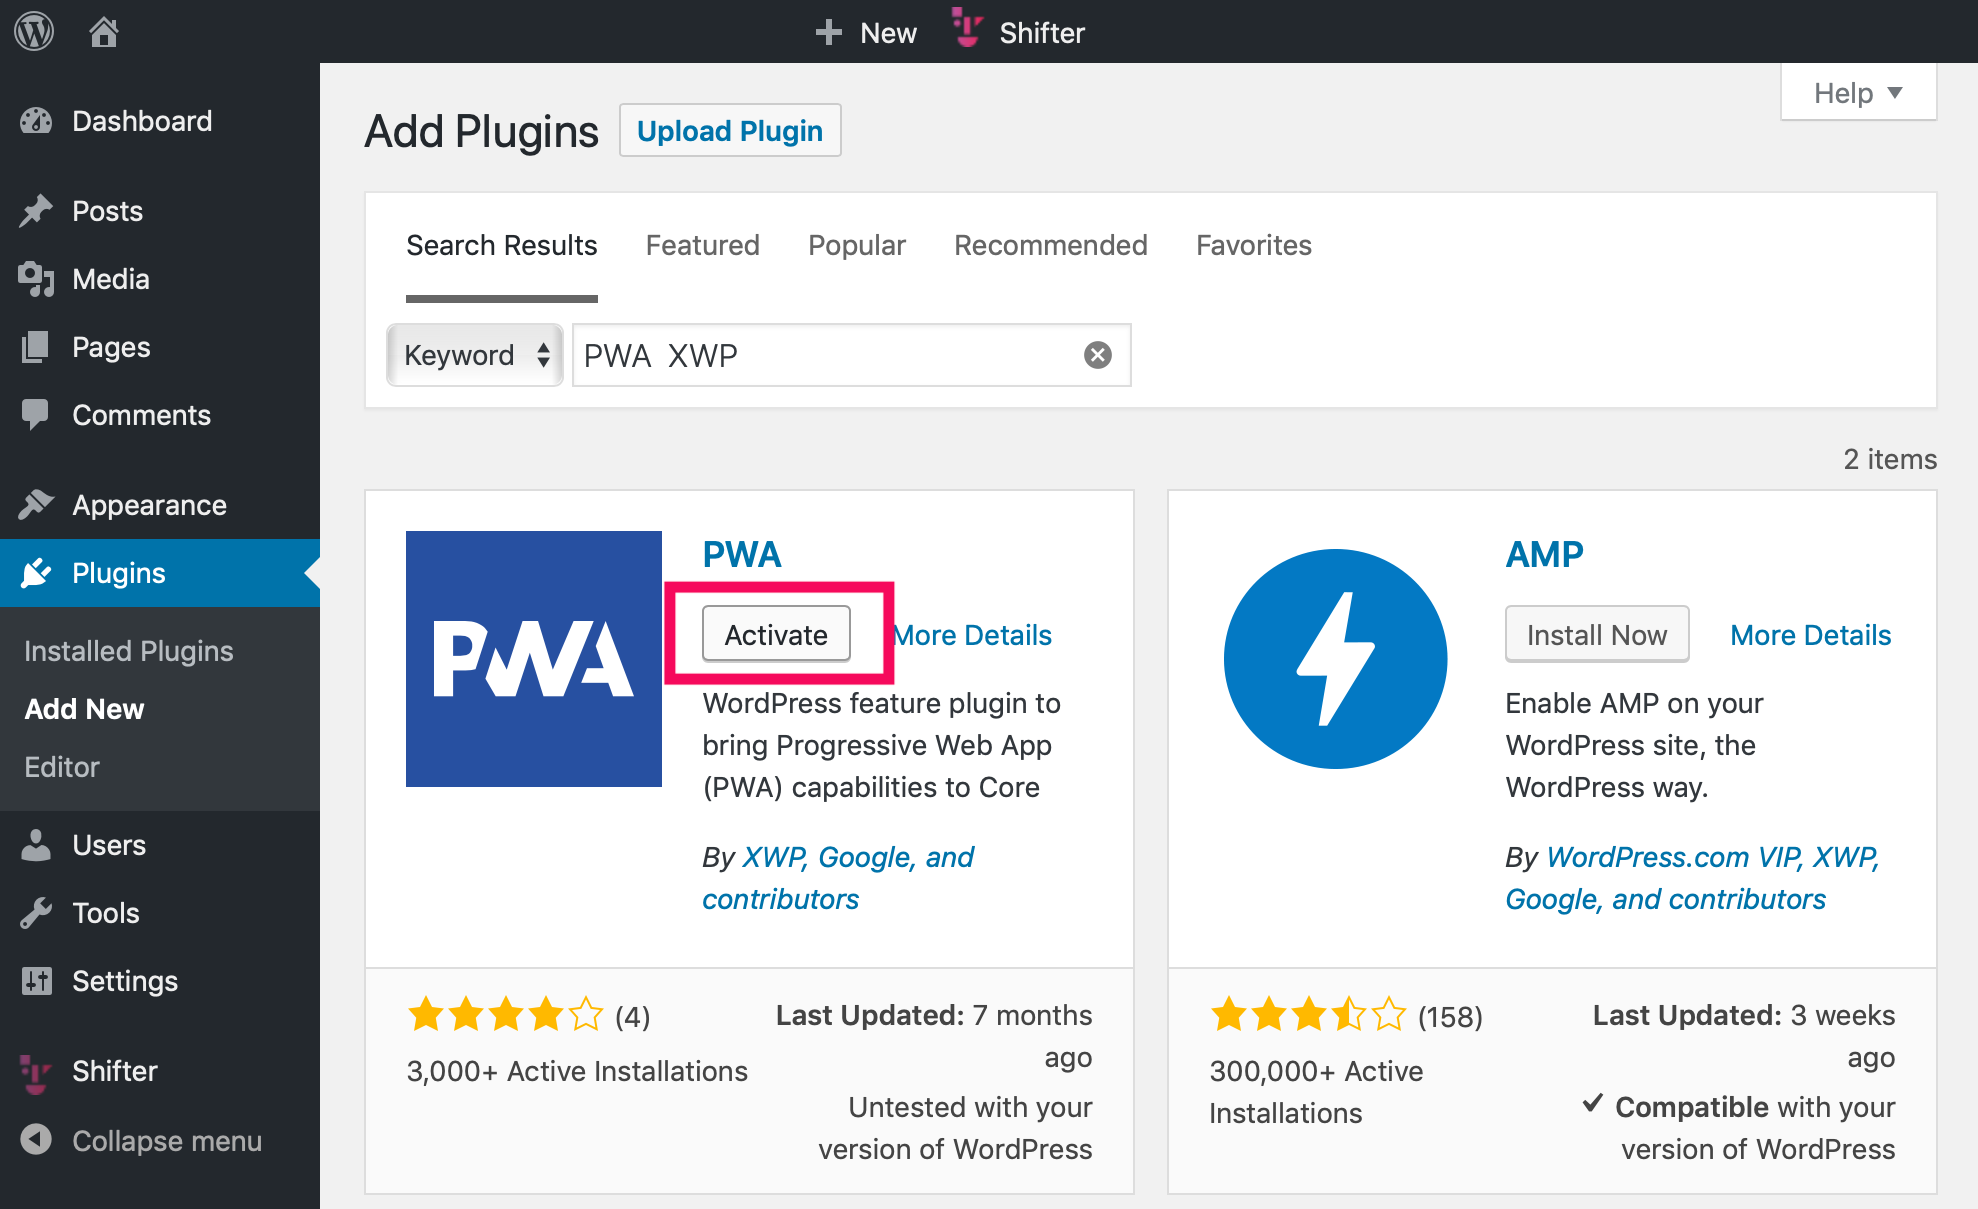
Navigate to the WordPress Plugins page. Search, install, and activate the PWA plugin
Search PWA XWP and install the PWA plugin and activate it.
What does the PWA Plugin do?
This PWA plugin automatically inserts rel=”manifest” into the header section once it’s activated.
For example:
<link rel="manifest" href="/wp-json/app/v1/web-manifest">
Step 4
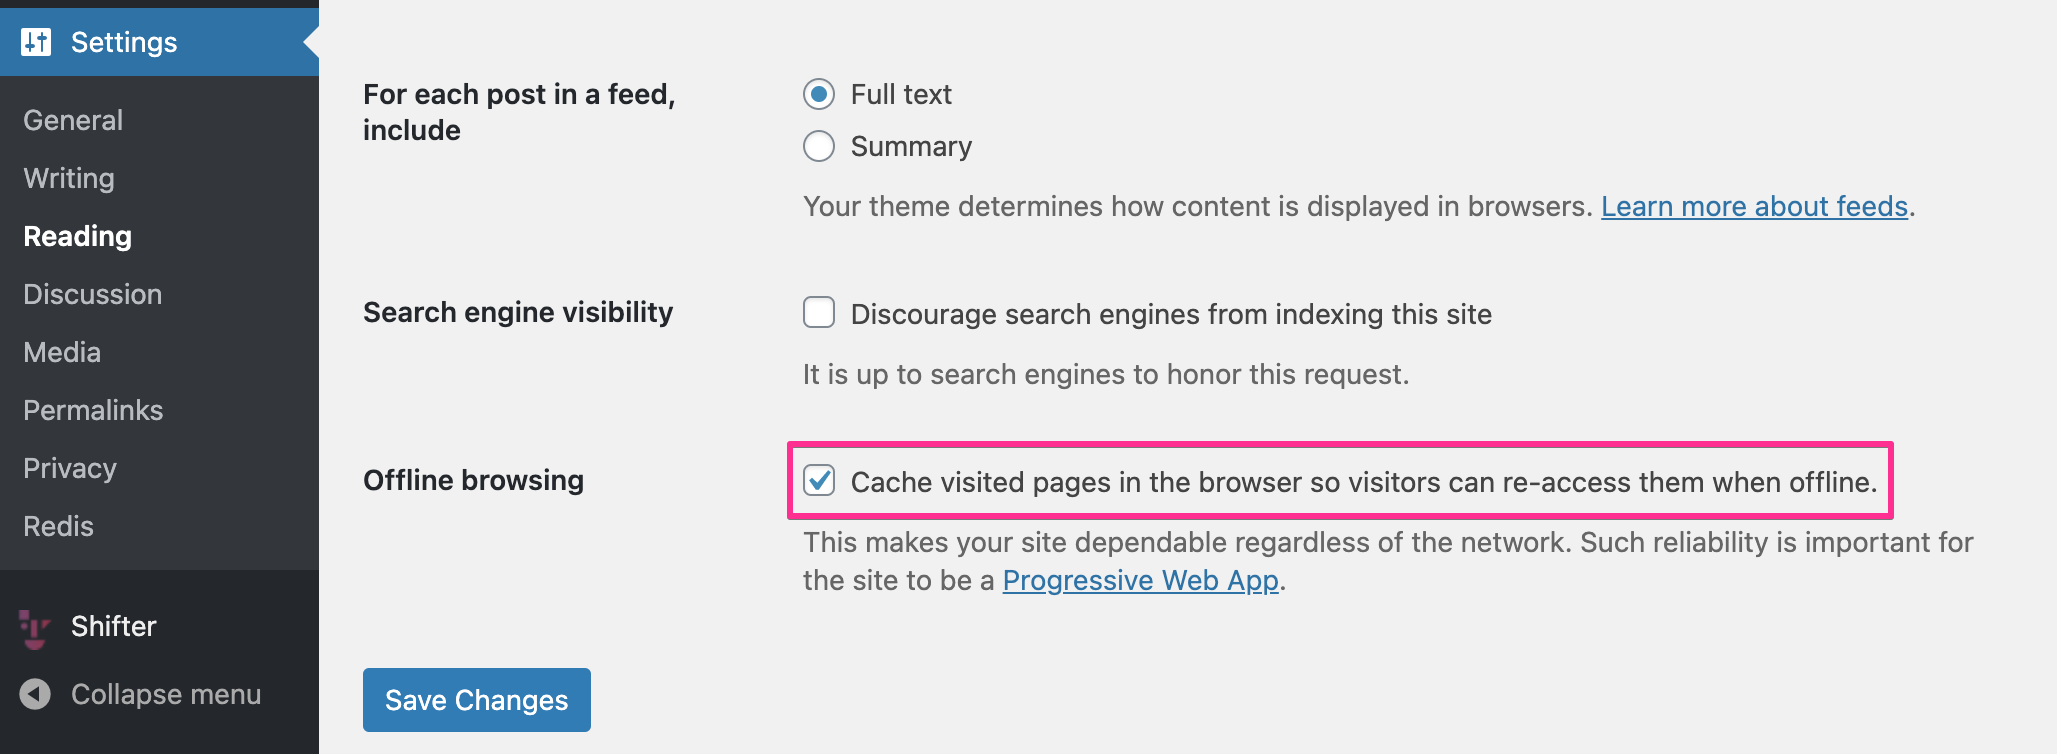
Check [Cache visited pages in the browser so visitors can re-access them when offline] under [Offline browsing] to cache contents tp visitors’ web browsers.
Step 5
Build an artifact and deploy it
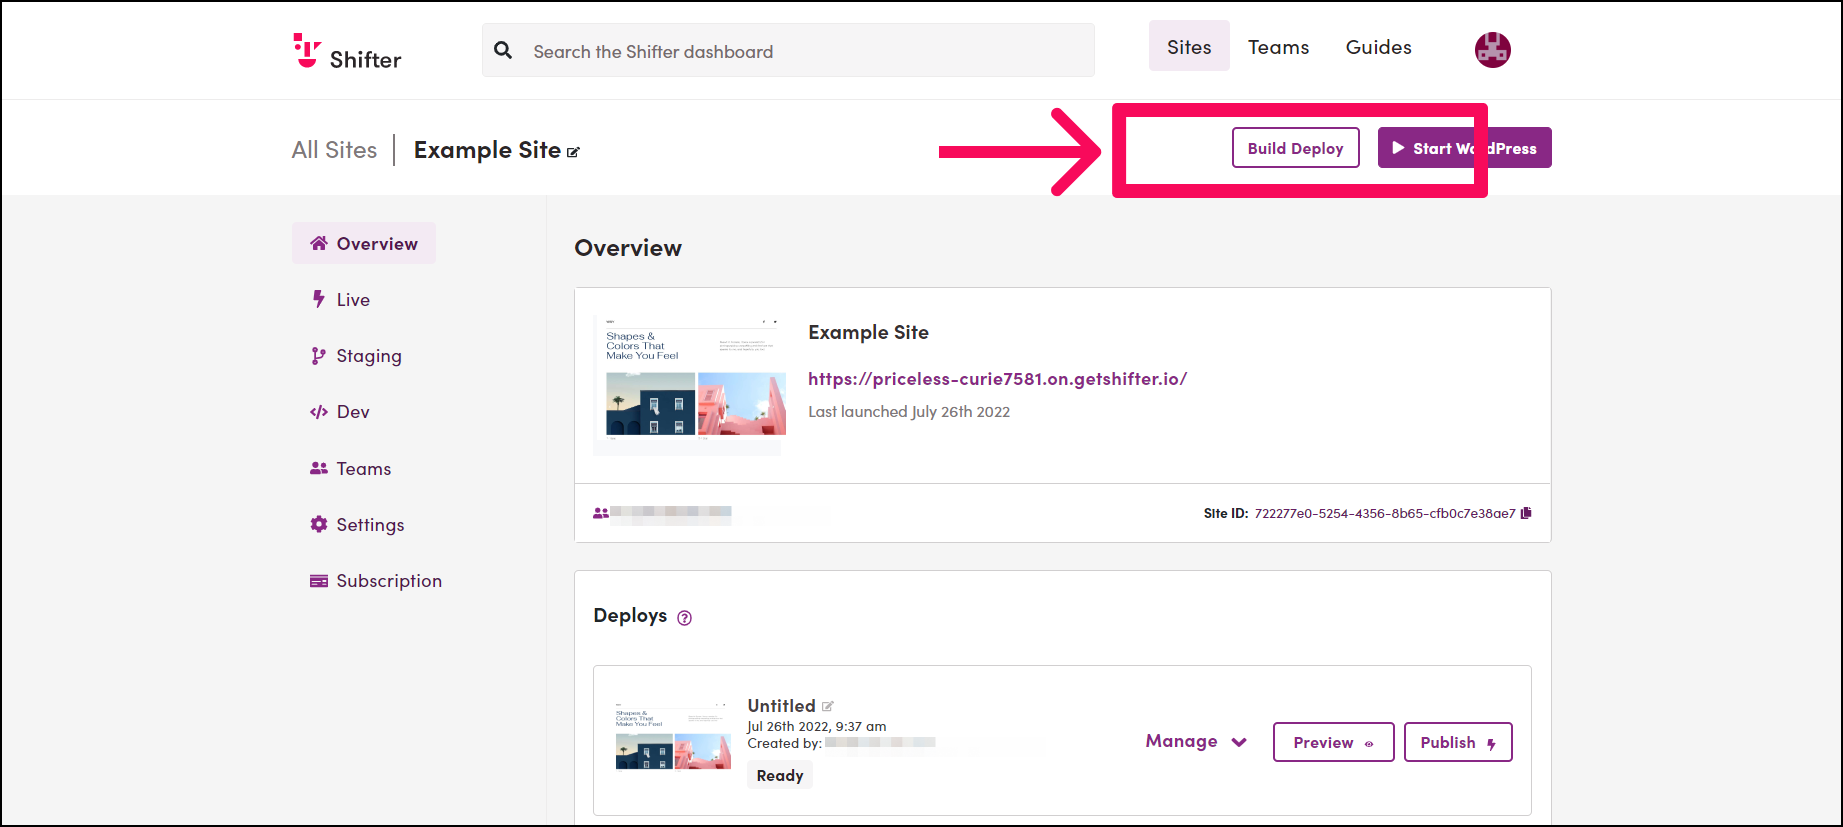
After activating the PWA plugin, go back to the Shifter console and click [Build Deploy] to begin creating a static version of your WordPress site to deploy.
If you’ve already activated auto-deploy, when your artifact is ready it will automatically be published after it’s generated.
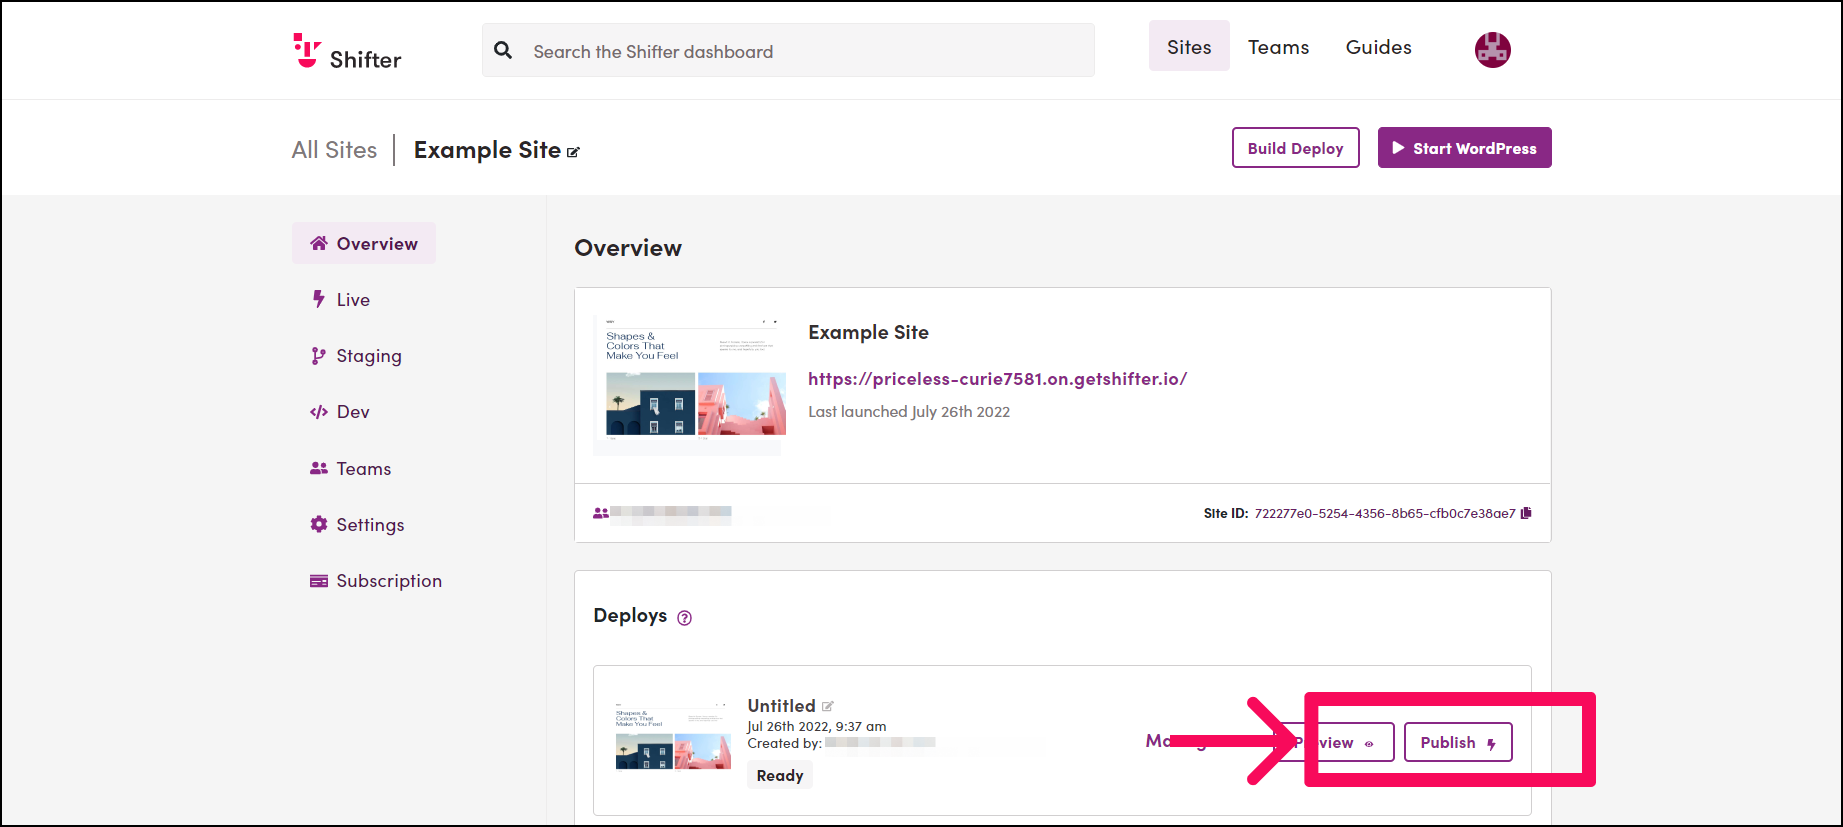
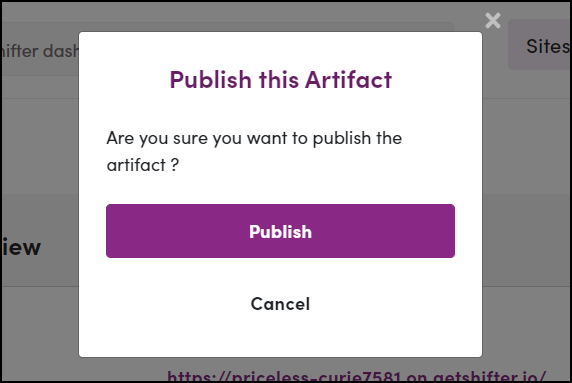
If you do not have auto-deploy enabled, you’ll need to deploy the newly created artifact.
Step 6
Check the PWA app manifest
PWAs include a file called a manifest. This is where the information about your Progressive Web App is stored.
There are a few ways to confirm your manifest file is there.
Using Lighthouse by Google (Recommended)
Lighthouse by Google is similar to Google PageSpeed Insights (but better) as it’s actively developed and offers more data.
Lighthouse requires their Google Chrome Extension, the service is free and it will offer up more info than just PWA support.
Using Google Chrome or your browsers dev tools.
To check the manifest, open your site with Google Chrome.
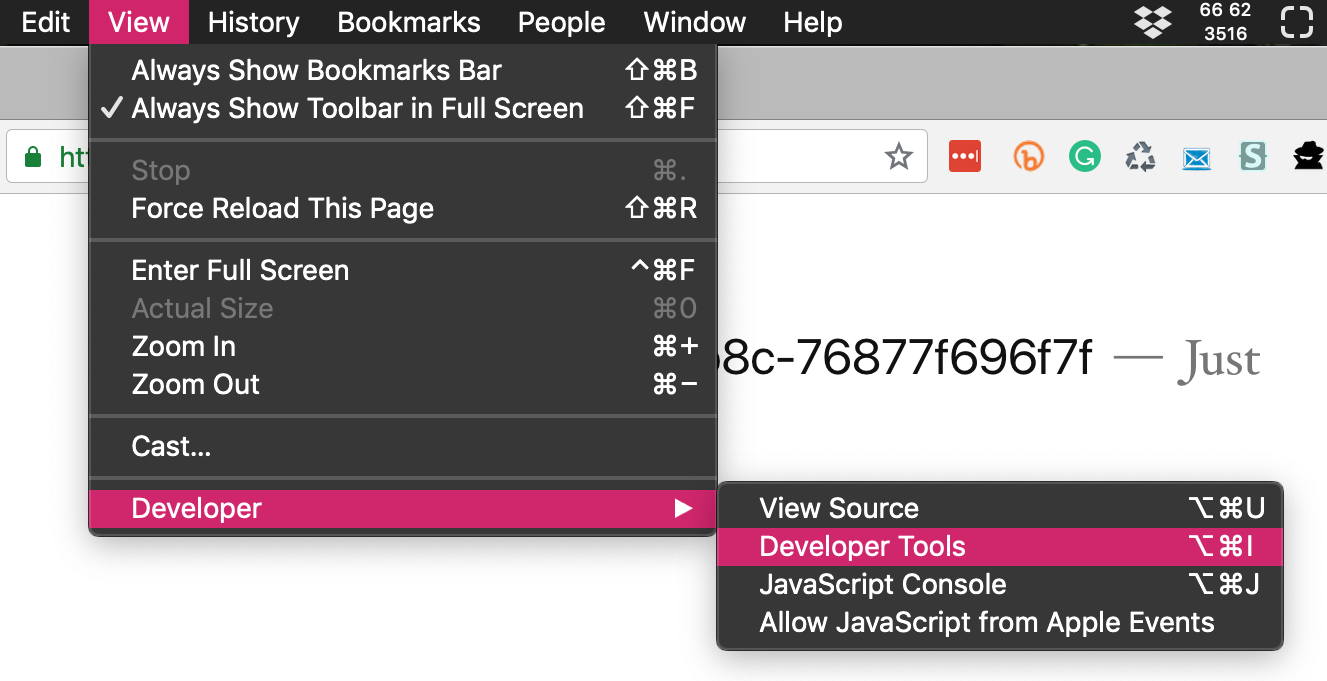
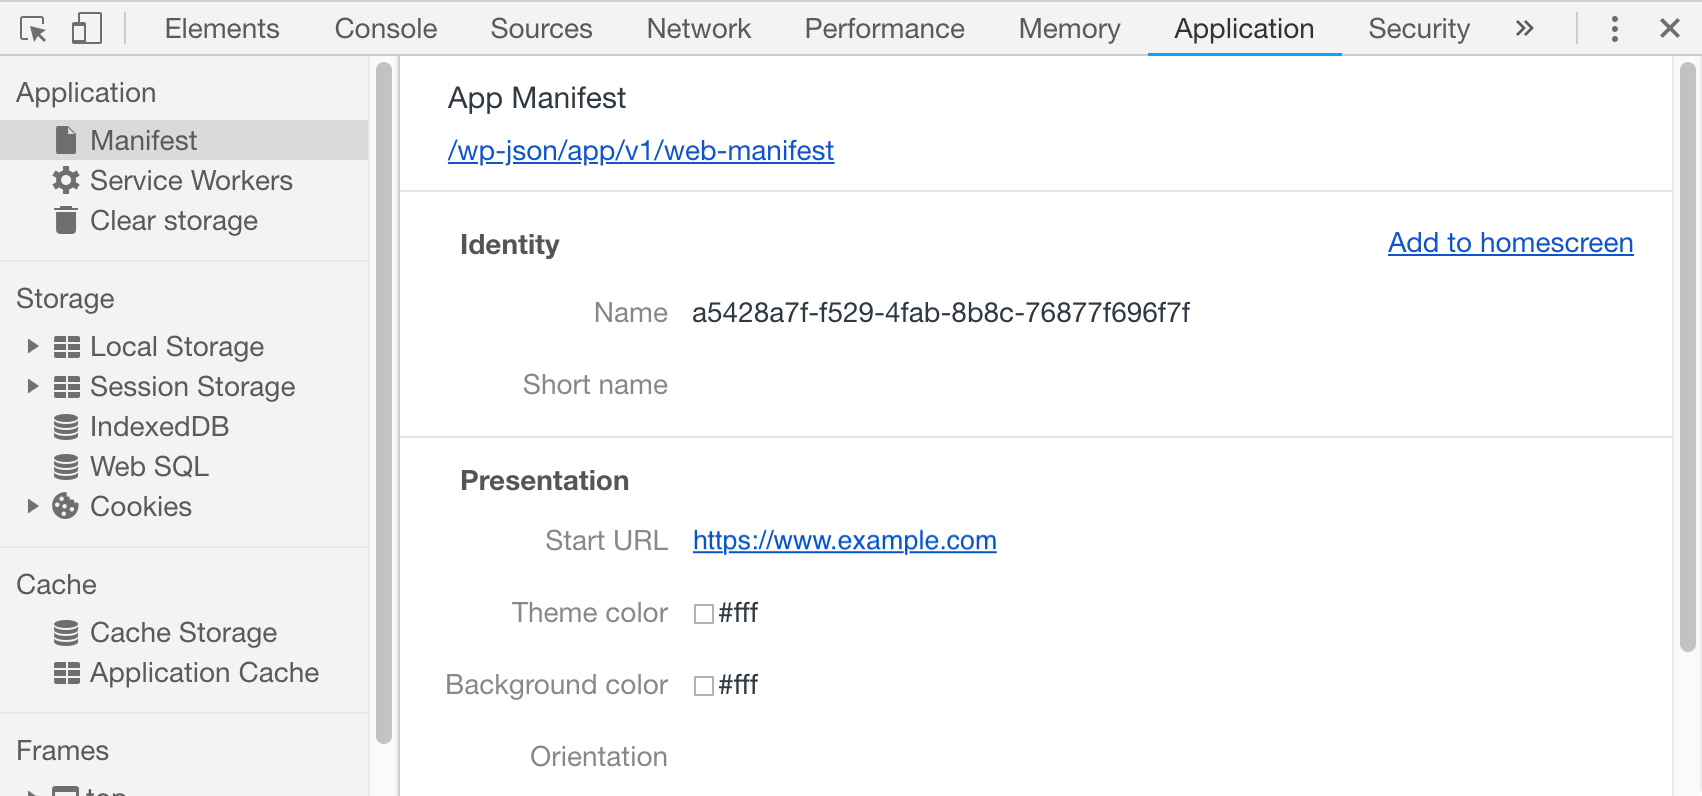
Click [View] –> [Developer] –> [Developer Tools], then click [Application].
There you will see a Manifest tab displaying the PWA information.
That’s all for setting up PWA on Shifter!


